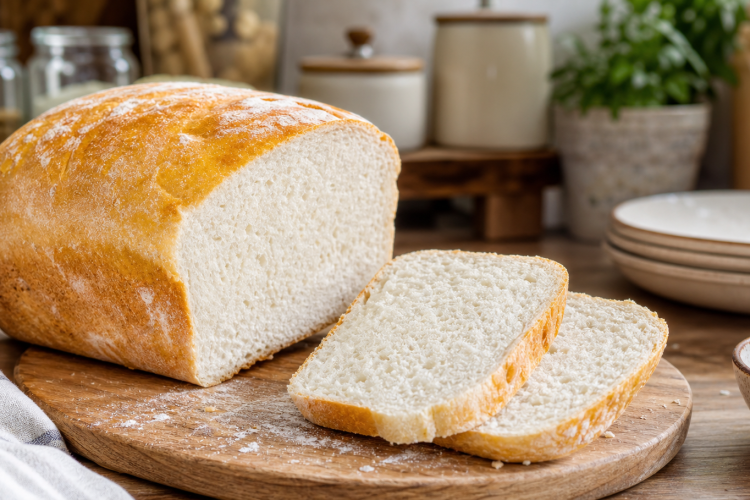
Baking your own sandwich bread gives you full control over what goes into every slice. This particular loaf is designed for anyone following a low-carb or keto lifestyle, yet it still delivers the soft, sliceable quality you expect from a good sandwich bread. Almond flour and coconut flour replace wheat, while a gluten-free sourdough starter brings gentle tang and natural leavening. The result is a tender loaf that holds up well under spreads, fillings, and toppings.
What Sets This Low-Carb Bread Apart
Most grain-free loaves turn out dense, crumbly, or eggy. This one avoids those pitfalls by pairing two complementary flours and giving the dough a long fermentation period. Almond flour supplies fat and structure, coconut flour absorbs excess moisture, and the starter slowly develops flavor over many hours. Together they create a crumb that feels closer to traditional bread than most keto alternatives, with a mild taste that works for both savory and sweet pairings.
Why a Sourdough Starter Matters Here
The starter does more than help the loaf rise. During the long rest, it breaks down some of the sugars in the dough and builds a subtle depth of flavor that commercial yeast simply cannot match in the same amount of time. For gluten-free baking, that slow activity also improves texture, softening the crumb and reducing the sandy quality that almond flour sometimes brings. A lively, bubbly starter is essential for good results.
Getting to Know Almond Flour
Almond flour forms the bulk of this dough. Finely ground blanched almond flour works best, since coarser meal leaves the loaf gritty and heavy. It carries natural fat, which keeps the bread moist for several days and prevents the dryness common in grain-free baking. It also contributes protein and fiber, so each slice feels more filling than its carb count might suggest. Measure carefully, as too much can weigh the dough down.
The Purpose of Coconut Flour
Coconut flour is used in a much smaller amount, and for good reason. It absorbs several times its weight in liquid, so even half a cup makes a noticeable difference in how the dough holds together. It tightens the crumb, adds a faint sweetness, and helps the loaf keep its shape once sliced. Without it, the dough would stay loose and the finished bread would struggle to support sandwich fillings.
Sweetener and Butter for Balance
A small amount of granulated erythritol rounds out the flavor without adding carbs. It is optional, but a touch of sweetness softens the tang from the starter and brings the loaf closer to classic sandwich bread. Melted butter enriches the dough, improves browning, and gives the crumb a plush feel. Salt ties everything together, sharpening the flavors that might otherwise fall flat in a grain-free bake.
Mixing the Dough Properly
Start by dissolving the starter in lukewarm water so it distributes evenly. Once the flours, sweetener, butter, and salt go in, the mixture will look shaggy and considerably thicker than wheat dough. That is expected. Stir until no dry pockets remain and the mass clings together. Resist the urge to pour in extra water immediately, since coconut flour continues absorbing liquid for several minutes after mixing.
Kneading Without Gluten
Kneading grain-free dough feels different from working with wheat. There is no springy pull and no windowpane to test for. Instead, you are simply distributing moisture and fat evenly throughout the mixture. Five to ten minutes on a lightly dusted surface is enough. The dough should turn smooth and slightly tacky, holding a shape when pressed. Adding almond flour a spoonful at a time keeps it from sticking without drying it out.
The Long First Rest
This is where flavor develops. Left covered at room temperature for twelve to twenty-four hours, the dough expands, softens, and picks up its characteristic sourdough character. The exact timing depends on how vigorous your starter is and how warm your kitchen happens to be. Look for a noticeable increase in volume and small bubbles scattered across the surface. A cool room slows things down considerably, so plan accordingly.
Shaping the Loaf Neatly
Once fermentation is complete, press the dough down gently to release trapped gas. Fold the outer edges toward the middle, then roll it into a tight log that matches the length of your pan. Tight shaping helps the loaf rise upward rather than spreading sideways. Grease the pan well, since grain-free doughs tend to stick more than wheat-based ones, and settle the dough in seam-side down.
The Second Rise Before Baking
The shaped loaf needs another two to three hours at room temperature. It should grow by roughly half its original size and feel airy when touched lightly. A gentle poke should leave a shallow mark that fills in slowly. Rushing this stage leads to a tight, heavy crumb, while letting it go too long can cause the top to sink during baking. Watch the dough rather than the clock.
Baking for Color and Structure
Preheat the oven well ahead of time so the loaf meets steady heat from the moment it goes in. A pizza stone placed on the lower rack helps stabilize temperature, though it is not required. Thirty-five to forty minutes at 375°F usually produces a deep golden top. Tap the underside of the loaf and listen for a hollow sound, or check that the center reads around 200°F on a thermometer.
Cooling Before You Slice
Patience pays off at the end. Let the loaf sit in its pan for about five minutes, then move it to a wire rack until it reaches room temperature. Steam trapped inside continues setting the crumb during this period. Cutting early releases that moisture too soon and leaves the interior sticky. Once fully cooled, the slices come away cleanly and hold their shape beautifully.
Ways to Serve and Enjoy It
This loaf handles everything from breakfast toast to packed lunches. Spread it with butter, cream cheese, or nut butter, or build a hearty sandwich with deli meats, cheese, and crisp vegetables. It toasts particularly well, developing a crisp edge while staying soft in the middle. Because the flavor stays mild, it pairs comfortably with both rich savory fillings and lighter sweet toppings.
Getting the Best Results
Check that your starter is bubbly and active before you begin, as sluggish starters produce flat loaves. If you prefer a lighter crumb, adjust the flour ratio slightly or work in a spoonful of flaxseed meal for added fiber. Keep the dough somewhere warm during fermentation and shield it from drafts. An oven with a proofing setting offers a reliable environment when your kitchen runs cold.
Storage and Keeping It Fresh
Wrap the cooled loaf and store it at room temperature for a couple of days, or refrigerate it to extend its life through the week. Slicing before freezing makes it easy to pull out single portions as needed. A quick pass through the toaster revives refrigerated or frozen slices and restores much of their original softness.
Answers to Common Questions
Fermentation and proofing times shift depending on starter strength and room temperature, so treat the ranges as guidelines rather than fixed rules. If the dough seems too wet after mixing, wait ten minutes before adding more flour, since coconut flour keeps absorbing liquid. Should the top brown too quickly during baking, tent it loosely with foil for the remaining time.
A Classic Wheat Variation
If you are not baking gluten-free, the same method works with a traditional flour base. Swap in bread flour and use sugar or honey in place of the keto sweetener. Kneading will take longer, around ten to fifteen minutes, because the gluten needs time to develop into a smooth, elastic dough. Fermentation, shaping, proofing, and baking follow the identical steps described above.
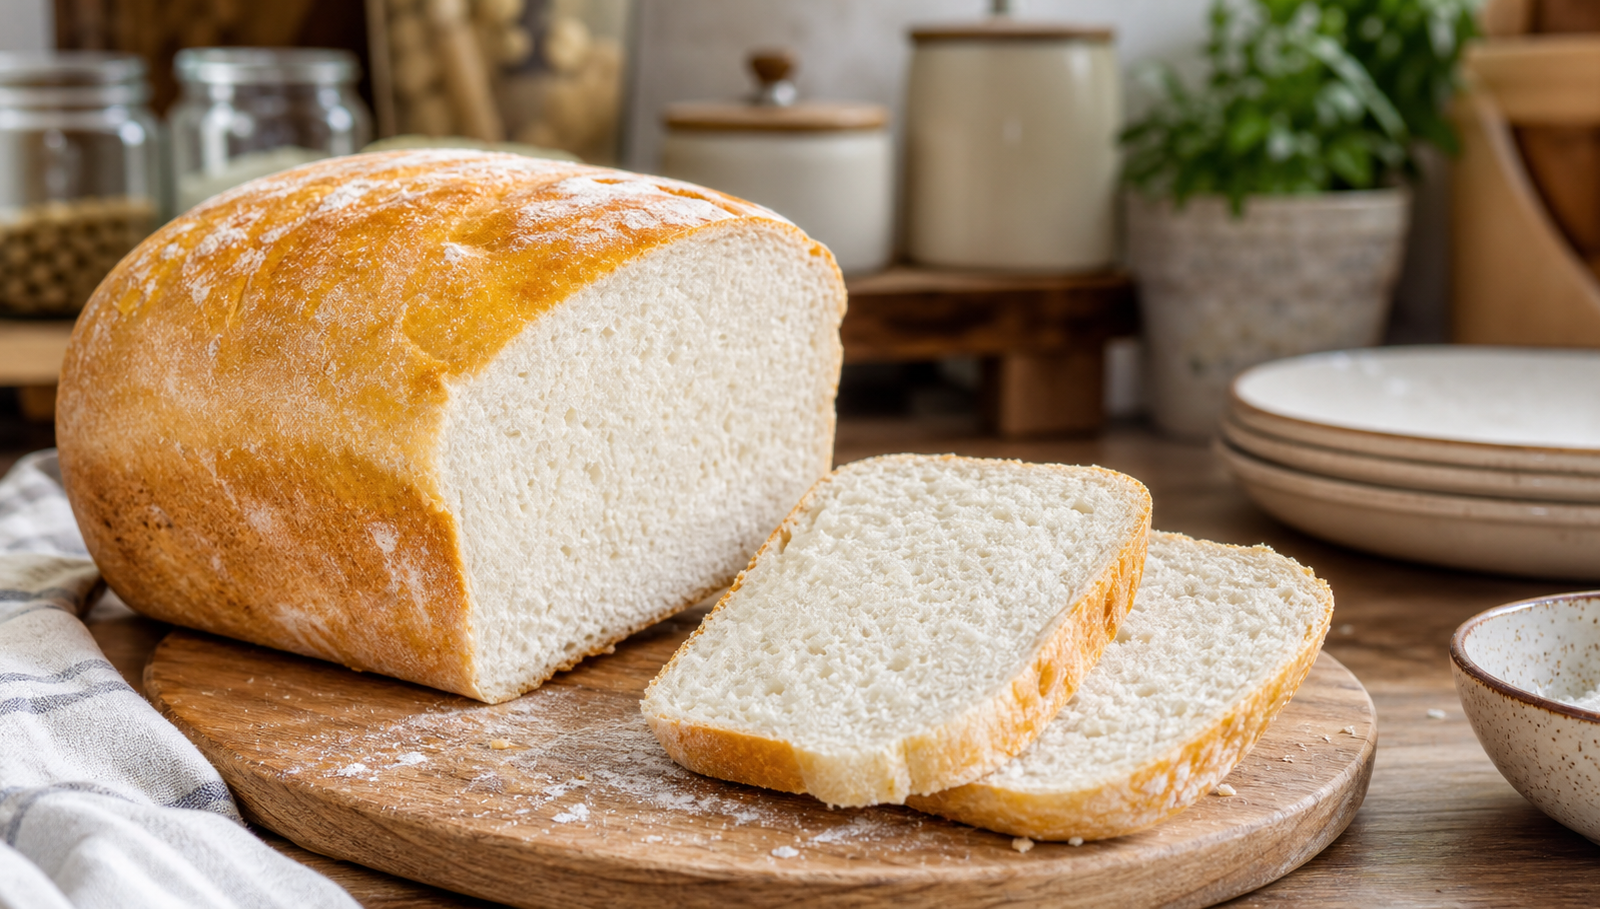
Low-Carb Keto-Friendly Gluten-Free Sandwich Bread
A soft, sliceable sourdough sandwich loaf made without wheat. Almond flour and coconut flour keep the crumb tender and the carb count low, while a long fermentation builds gentle tang and depth. Perfect as a base for sandwiches, toast, or spreads.
20
minutes35
minutes55
minutesIngredients
Active gluten-free sourdough starter — 1 cup
Lukewarm water — 1 1/2 cups
Almond flour — 4 cups
Coconut flour — 1/2 cup
Granulated erythritol or keto-friendly sweetener — 2 tablespoons (optional)
Unsalted butter, melted — 2 tablespoons
Salt — 2 teaspoons
- Classic Wheat Variation:
Active sourdough starter — 1 cup
Lukewarm water — 1 1/2 cups
Bread flour — 4 cups
Granulated sugar or honey — 2 tablespoons
Unsalted butter, melted — 2 tablespoons
Salt — 2 teaspoons
Directions
- Tip the starter into a large bowl with the lukewarm water and stir until it fully dissolves.
- Add the almond flour, coconut flour, sweetener, melted butter, and salt. Mix until a shaggy dough comes together and no dry patches remain.
- Turn the dough onto a surface dusted with almond flour and work it for 5–10 minutes, until smooth and slightly tacky.
- Move the dough to a greased bowl, cover with a damp cloth or wrap, and leave at room temperature for 12–24 hours, until doubled with bubbles on top.
- Press the dough down gently, fold the edges inward, and roll into a tight loaf. Settle it seam-side down into a greased loaf pan.
- Cover again and proof for 2–3 hours, until risen by about half and springy to a light touch.
- Heat the oven to 375°F (190°C) about 30 minutes before baking. Use a pizza stone on a lower rack if you have one.
- Uncover the loaf and bake for 35–40 minutes, until deeply golden and hollow-sounding underneath. Internal temperature should read around 200°F (93°C).
- Rest the loaf in the pan for 5 minutes, then turn it onto a wire rack and cool completely.
- Slice once fully cooled and serve with your preferred fillings or spreads.
Notes
- Fermentation: 12–24 hours
- Second Proof: 2–3 hours


