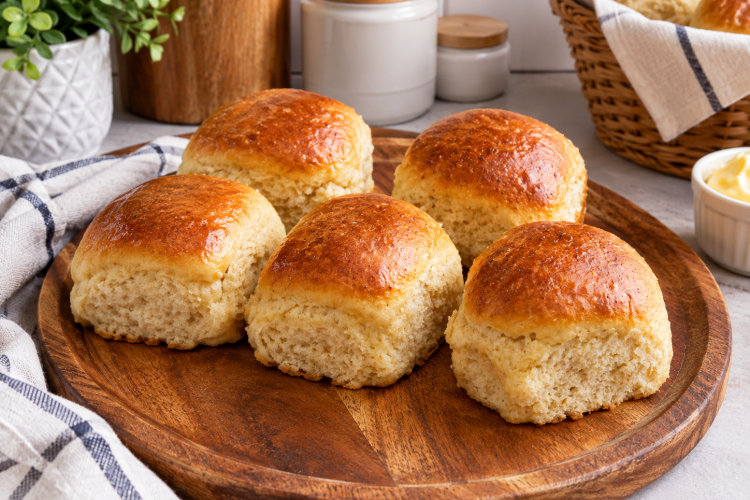
These homemade gluten-free dinner rolls are soft, light, and fluffy inside with a gently golden top. They are made with a gluten-free flour blend, yeast, eggs, honey, milk, and butter. The dough is easy to mix, shape, and bake without complicated bread-making steps.
If you have been looking for an easy gluten-free dinner rolls recipe, this one is a useful choice for family meals. The rolls have a tender texture and a slightly sweet flavor from the honey. They work well beside soups, roasted meats, vegetables, salads, and other main dishes.
Why Make These Gluten-Free Rolls
Making gluten-free bread at home can sometimes feel difficult because the dough behaves differently from regular wheat dough. This recipe keeps the process simple by using gluten-free all-purpose flour with xanthan gum. The mixture stays soft and sticky rather than becoming a firm dough.
That sticky texture is normal for these gluten-free yeast rolls. Instead of shaping the dough by hand, an ice cream scoop can be used to portion it into the baking pans. This makes the process quicker and helps create rolls that are similar in size.
What Makes These Dinner Rolls Soft
Several ingredients work together to give these rolls their soft texture. The warm milk provides moisture, while softened butter adds richness. Eggs help give the rolls structure, and honey adds sweetness while also contributing to the tender crumb.
Instant yeast helps the dough rise before baking. The apple cider vinegar is also part of the original recipe and works with the other ingredients in the dough. Once everything is mixed, the dough needs time in a warm place so the yeast can do its job.
Gluten-Free Flour Matters
The type of gluten-free flour used in this recipe is important. The original recipe calls for all-purpose gluten-free flour with xanthan gum. Different gluten-free flour blends can absorb liquid differently, so the amount required may vary depending on the brand and other conditions.
The recipe gives a range of 3 to 3½ cups, rather than one fixed volume. This allows for differences between flour blends. If the flour blend already contains xanthan gum, no extra amount is needed unless the recipe instructions indicate otherwise.
Using Xanthan Gum
Xanthan gum helps provide structure in many gluten-free baked goods. Since gluten is not present, gluten-free yeast bread needs another way to hold together as it rises and bakes. The recipe therefore works best with a suitable gluten-free flour blend.
If your chosen flour does not contain xanthan gum, the original recipe specifies adding 1½ teaspoons during the first step. Check the flour package before starting so you know whether xanthan gum is already included.
Measuring Gluten-Free Flour
For the most consistent results, measure the flour carefully. The spoon-and-level method is especially useful when using measuring cups. Instead of dipping the cup directly into a packed bag of flour, use a spoon to place flour into the cup.
Once the cup is filled, level the surface with the back of a knife. This prevents you from accidentally adding too much flour. Since gluten-free flour blends can differ in weight and absorption, careful measuring can make the dough easier to handle.
Preparing the Yeast
The yeast is added directly to the gluten-free flour mixture in this recipe. Make a small opening in the flour with your finger and place the instant yeast into that space. This simple method keeps the yeast incorporated with the dry ingredients before the liquids are added.
The milk should be warm rather than hot. The specified temperature is 110°F to 115°F, or about 43°C to 46°C. A kitchen thermometer is useful for checking the temperature because milk that is too hot can damage the yeast.
Dairy-Free Option
These gluten-free dinner rolls can also be prepared with dairy-free ingredients. The original recipe provides almond, cashew, or coconut milk as alternatives to regular milk. Dairy-free butter alternatives can also be used where specified.
This gives the recipe some flexibility for people who need to avoid dairy while still wanting homemade gluten-free bread. Always check the labels of packaged ingredients if you need to avoid both gluten and dairy.
Mixing the Dough
Once the flour, salt, yeast, warm milk, softened butter, eggs, apple cider vinegar, and honey are in the bowl, mix until everything is fully combined. The original instructions recommend mixing for about 2 to 3 minutes.
The dough will be sticky, which is expected. You may need to scrape the sides of the bowl during mixing so that dry flour does not remain around the edges. A dough attachment can be used, although a paddle attachment also works.
Getting the Baking Pans Ready
Two 9-inch cake or pie pans are used for this recipe. Spray the pans with gluten-free cooking spray before adding the dough. Metal pans can be used, although glass pans are also suitable.
Greasing the pans helps prevent the rolls from sticking during baking. It also makes serving easier after the rolls have cooled slightly. Dividing the dough between two pans gives the finished rolls their attractive pull-apart arrangement.
Shaping the Gluten-Free Rolls
Because the dough is sticky, an ice cream scoop makes portioning much easier. Spraying the scoop with gluten-free cooking spray can help prevent the dough from clinging to it while you work.
The recipe makes 18 rolls in total. Place eight dough balls around each pan and one in the center. After portioning, use a small spatula to gently smooth the tops so the rolls have a more even surface before rising.
Letting the Dough Rise
After the dough has been placed in the pans, cover them with a kitchen towel. Leave the pans in a warm place for about 1 hour. During this time, the instant yeast works to expand the dough.
The rising stage is important for achieving soft gluten-free dinner rolls. Avoid placing the pans somewhere extremely hot. A comfortably warm area is enough for the dough to rise without exposing the yeast to excessive heat.
Preparing the Oven
Toward the end of the rising time, preheat the oven to 400°F, or 204°C. Allow the oven to reach the correct temperature before putting the rolls inside. A fully heated oven helps the dough bake evenly from the beginning.
The rolls should be baked on the middle rack. This position helps provide balanced heat during baking. Since ovens can vary, keep an eye on the rolls during the final few minutes.
Baking the Dinner Rolls
The gluten-free rolls bake for approximately 14 to 16 minutes. As they cook, the tops should develop a light golden-brown color. The outside should look baked and set while the inside remains soft.
For an extra check, the original recipe recommends measuring the internal temperature. The center of the rolls should reach about 200°F, or 93°C. This can be checked with an instant-read thermometer inserted into a roll.
Finishing With Butter
When the rolls come out of the oven, brush the tops with the melted butter provided in the ingredient list. This adds a little richness and gives the surface a pleasant finish.
If you are preparing the dairy-free version, use the specified dairy-free buttery spread instead. The rolls can be served warm alongside your meal, making them a useful homemade side for everyday dinners or special gatherings.
What to Serve With Gluten-Free Dinner Rolls
These soft dinner rolls can be served with many types of meals. They pair naturally with soups and stews because the tender bread can be used to soak up flavorful broth. They also make a simple side for roasted chicken, beef, turkey, or vegetables.
For a holiday meal, homemade gluten-free rolls can be placed in a bread basket and served with the main dishes. They are also useful for regular family dinners when you want something warm and freshly baked on the table.
Keeping the Rolls Soft
Freshly baked rolls are usually at their softest when served warm. If you are not serving them immediately, allow them to cool and store them properly to help maintain their texture.
Because gluten-free bread can dry out more quickly than some wheat-based breads, keeping the rolls covered is helpful. Rewarming them gently before serving can also bring back some of their softness.
Choosing the Right Flour Blend
Not every gluten-free flour works the same way in yeast recipes. The original recipe specifically uses an all-purpose gluten-free flour with xanthan gum and states that flour blends such as almond, coconut, or oat flour should not be substituted for this recipe.
For that reason, use a gluten-free blend intended for this type of baking. Some flour products also state on their packaging or website whether they are recommended for yeast baking. Checking that information before mixing the dough can help prevent disappointing results.
Frequently Asked Questions About Gluten-Free Dinner Rolls
Can I make these dinner rolls dairy-free?
Yes. The recipe includes dairy-free alternatives for both milk and butter. Almond, cashew, or coconut milk can replace regular milk, while the specified dairy-free buttery spread can be used in place of butter.
Why is my gluten-free dough sticky?
Sticky dough is normal for this recipe. Gluten-free yeast dough does not behave like traditional wheat bread dough. Instead of forming a smooth ball that can be kneaded by hand, this mixture is portioned with an ice cream scoop and placed directly into the prepared pans.
How long should the rolls rise?
The dough should rise for about 1 hour in a warm place. The rising time is part of the total preparation process and should not be skipped because it helps the yeast develop the light texture of the finished rolls.
How do I know when the rolls are done?
The rolls should have a light golden-brown top after approximately 14 to 16 minutes in a 400°F oven. For a more precise check, the original recipe recommends an internal temperature of 200°F, or 93°C.
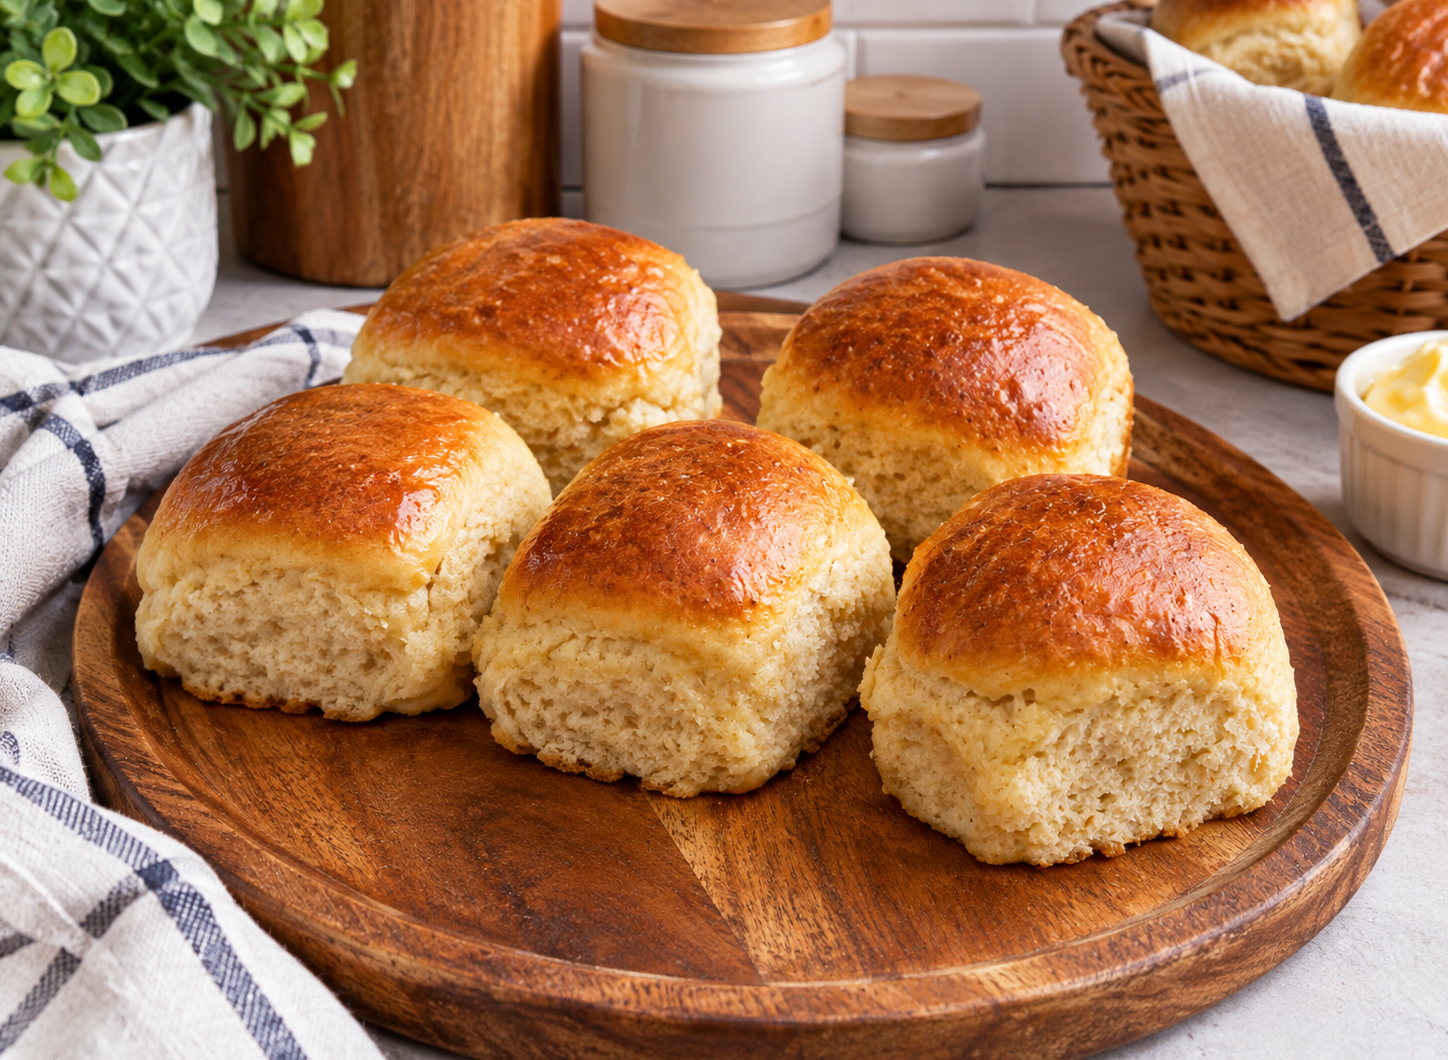
Gluten Free Dinner Rolls
Soft and fluffy homemade gluten-free dinner rolls made with gluten-free flour, instant yeast, warm milk, eggs, honey, and butter. These easy gluten-free rolls are suitable for serving with soups, meats, vegetables, and family dinners. A dairy-free option is included.
18
rolls10
minutes16
minutes148
kcal1
hour1
hour26
minutesIngredients
3–3½ cups (408 g) all-purpose gluten-free flour with xanthan gum
1 tsp (6 g) salt
1¾ tsp (5.5 g) rapid yeast/instant yeast
¼ cup (57 g) unsalted butter, softened, dairy-free use Earth Balance or Smart Balance
1¼ cups (300 ml) warm milk (110°F–115°F), dairy-free use almond, cashew or coconut milk
2 eggs, room temperature
1 tsp (5 ml) apple cider vinegar
½ cup (170 g) honey
2 tbsp (28 g) unsalted butter, melted, for dairy-free, use Smart Balance buttery spread
Directions
- Add the gluten-free flour and salt to a large bowl. Make a small opening in the flour and add the instant yeast. Warm the milk to 110°F–115°F (43°C–46°C), then pour it over the yeast.
- Add the softened butter, room-temperature eggs, apple cider vinegar, and honey. Mix for 2–3 minutes until everything is well combined, scraping the sides of the bowl as needed. The dough will be sticky.
- Spray two 9-inch cake or pie pans with gluten-free cooking spray. Use a sprayed ice cream scoop to divide the dough into 18 portions, placing eight around each pan and one in the center. Smooth the tops with a small spatula.
- Cover the pans with a kitchen towel and leave them in a warm place for 60 minutes. Toward the end of the rising time, preheat the oven to 400°F (204°C).
- Bake the rolls on the middle oven rack for 14–16 minutes, or until lightly golden brown. The internal temperature should reach about 200°F (93°C).
- Remove the rolls from the oven and brush the tops with the melted butter. Serve warm.
Nutrition Facts
- Total number of serves: 1
- Calories: 148kcal
- Fat: 5g
- Cholesterol: 30mg
- Sodium: 173mg
- Carbohydrates: 23g
- Fiber: 2g
- Sugar: 9g
- Protein: 3g


